Use one main idea per prompt
Choose one subject, one environment, and one camera direction.
Follow the real Wan 4.0 preview interface from top to bottom to choose a mode, write a prompt, set the frame, and understand its current coming-soon status.
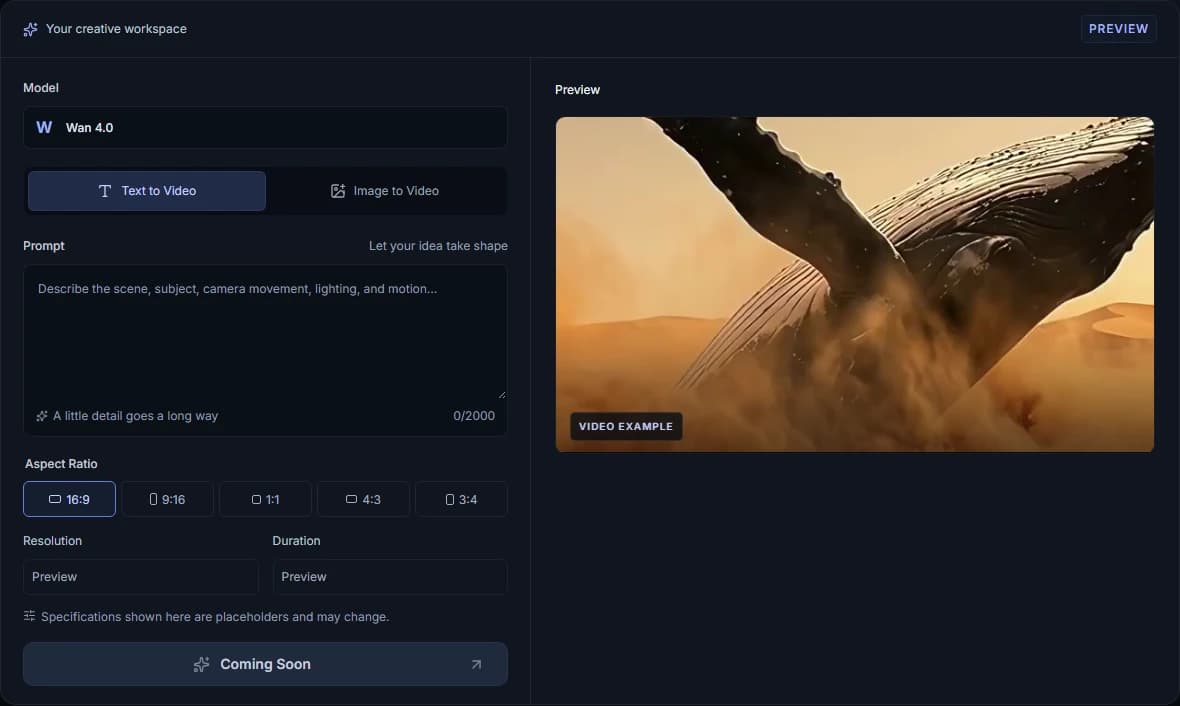
Before going through the full process, it helps to understand the structure of the interface. The tool is divided into two main areas. The left side is where the user configures the request. The right side is where the preview area appears.
At the top of the left panel, the user selects the model and chooses whether the workflow starts with text or with an image. Below that, the prompt area is used to describe the scene, subject, camera movement, lighting, and motion. Farther down, the aspect ratio controls define the frame shape. Resolution and duration currently appear as preview fields, which signals that the interface is still in a coming-soon state.
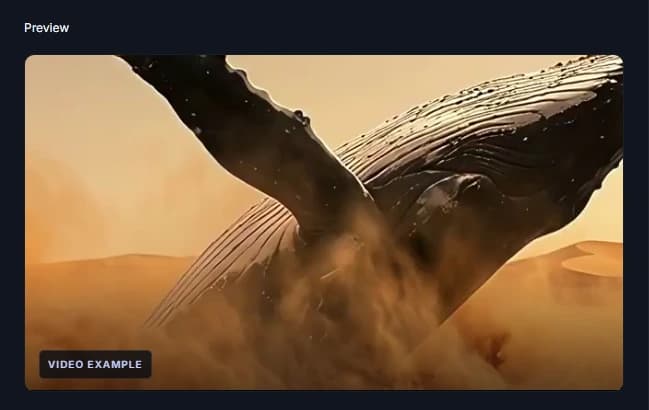
The right panel is reserved for preview behavior. It currently displays a preview block labeled Video Example, which helps explain where future visual output will appear.
The final control at the bottom is the Coming Soon button. This is important because it tells users that the interface demonstrates the intended tool flow, but full live generation is not yet available.
Confirm that Wan 4.0 is selected at the top of the workspace.
Choose Text to Video or Image to Video as the starting mode.
Describe the scene, subject, camera movement, lighting, and motion.
Select the frame shape that matches the intended video.
Review the current Preview placeholder for output resolution.
Review the current Preview placeholder for video duration.
See where future visual feedback is expected to appear.
Check the final button to understand the current tool state.
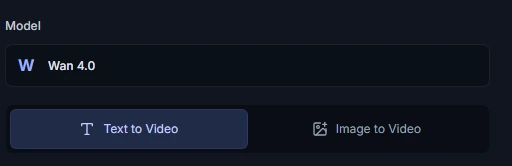
The first part of learning how to use Wan 4.0 is understanding the top controls of the workspace. Users begin by looking at the model field, which currently shows Wan 4.0, and then selecting the preferred input mode: Text to Video or Image to Video.
Text to Video is the better choice when the scene begins as an idea and needs to be described in words. Image to Video is the better choice when the user already has a visual starting point and wants the motion or video behavior to develop from that source.
This means the page is structured around a simple first decision: do you want to begin with a written idea, or with an existing visual? Understanding how to use the correct starting mode prevents unnecessary confusion later in the workflow.
If you are trying the interface for the first time, begin with Text to Video. It is the most direct way to understand how the workspace is organized.
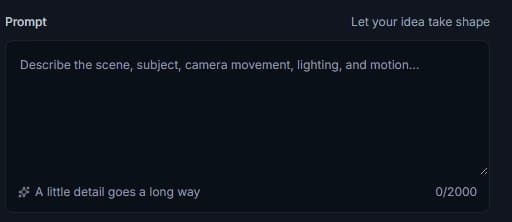
The next step is writing the main prompt. The interface clearly labels this area as Prompt and includes the supporting phrase “Let your idea take shape,” which helps signal that this is the creative input area.
The prompt should explain the most important visible parts of the shot: the scene, the subject, camera movement, lighting, and motion. The placeholder text already guides the user in this direction by showing what kinds of information belong in the field.
When writing the first prompt, keep the request simple. A clear subject, one main action, and one camera direction are easier to evaluate than a long prompt filled with several competing ideas. The small phrase “A little detail goes a long way” is also useful guidance. The goal is not to write the longest possible description. The goal is to write a prompt that tells the system what the viewer should actually see.
The character counter at the bottom right of the box shows that this field is designed to support longer prompts, but users should still stay concise.
PROMPT EXAMPLEA cyclist rides through a quiet city street at sunrise while the camera tracks beside them. Soft morning light reflects on the road and the motion stays smooth and controlled.
After the prompt is ready, the next part of how to use the interface is choosing the frame shape. The Aspect Ratio section shows several selectable options: 16:9, 9:16, 1:1, 4:3, and 3:4.
These options represent different output directions. A wide ratio such as 16:9 works well for landscape video concepts. A vertical ratio such as 9:16 fits mobile-first content more naturally. A square ratio such as 1:1 can be useful for centered compositions. The 4:3 and 3:4 options provide additional flexibility when a project needs a more classic or balanced frame.
The interface currently highlights 16:9, which visually demonstrates how a selected ratio appears. This helps users understand that the frame choice is part of the setup process before generation.

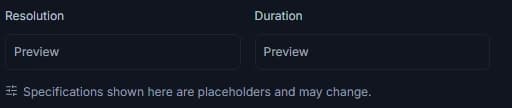
A practical part of using the preview is recognizing which areas are already fixed controls and which areas are still placeholders. The Resolution and Duration fields currently display Preview rather than final production values.
This is important because it tells users that these settings are part of the planned product structure, but the exact specifications are not yet confirmed in the current version of the tool. The note below the fields makes that even clearer: “Specifications shown here are placeholders and may change.”
Users should therefore treat this area as an interface preview, not as a finalized settings panel. It shows where output-related specifications will likely appear later, while still honestly signaling that the live values are not ready.
Understanding how to use a coming-soon interface includes understanding its limits. In this case, the Resolution and Duration area is useful because it shows the future shape of the workflow without claiming final production details.
The right side of the tool is the preview area. Learning how to use this section is straightforward: it is the space where visual feedback is intended to appear. The panel is labeled Preview, and the current block inside it is marked Video Example.
This tells users two things. First, the interface already has a dedicated result space. Second, the current preview is not presented as a live generated output from the active controls. Instead, it functions as a demonstration placeholder that shows where future output will be displayed.
This distinction matters because a user should not expect the current prompt field or aspect ratio buttons to immediately update the preview in the present version of the workspace. The panel is part of the product preview, not yet a confirmed live generation canvas.
The final action area appears at the bottom of the tool, where the main button is labeled Coming Soon. This is one of the most important parts of understanding the preview today, because it makes the current product state explicit.
The button signals that users are looking at a planned workflow preview rather than a fully enabled live generator. In other words, the interface is already teaching the intended structure of the product, but the actual generation action is not yet active in the public preview.
This is a positive design choice because it prevents confusion. Users can still learn the workflow, understand the controls, and prepare for future access without being misled into thinking a live result will be created immediately.
When full production access becomes available, this area is the place where the primary tool action will likely become interactive.

Even in a coming-soon state, the interface already teaches useful workflow habits. Users can prepare themselves for future access by learning how to move through the setup process clearly.
Start with one idea at a time. Choose one subject, one environment, and one camera direction. Use the prompt field to describe only what needs to appear on screen. Choose an aspect ratio that matches the intended destination. Pay attention to whether a field represents an active control or a placeholder.
The best way to use the current preview is not to expect finished output. It is to understand how a future Wan 4.0 request will likely be structured. Users who learn the layout early will move faster once full access becomes available.
Choose one subject, one environment, and one camera direction.
Use the prompt field to describe only what needs to appear on screen.
Choose an aspect ratio that matches the intended destination.
Pay attention to whether a field represents an active control or a placeholder.
Use it to understand how a future Wan 4.0 request will likely be structured.
Users often ask how to use a preview tool when some parts are not yet active. The best answer is to separate visible structure from confirmed production behavior.
The current page does show the intended tool layout. It shows how a model is selected, how input mode is chosen, where the prompt is written, how the frame is selected, where output specifications will appear, and where the preview result is expected to display.
What it does not show is a confirmed live generation pipeline. Resolution, duration, and the main button are all intentionally presented in a way that signals preview status. This is important because it keeps expectations realistic and protects the accuracy of the page.
Using Wan 4.0 in its preview stage therefore means learning the workflow, not assuming final released tool behavior.
Start at the top of the workspace by confirming the model and choosing either Text to Video or Image to Video. Then move down through the prompt, aspect ratio, preview fields, and current availability state.
The first decision is the creation mode. Text to Video is best when you are starting from an idea written in words, while Image to Video is best when you already have a visual starting point.
Use the prompt field to describe the scene, subject, camera movement, lighting, and motion. Keep the request visually clear and avoid filling the prompt with unrelated ideas.
The counter indicates that the interface is designed to support longer prompts, but users should still focus on writing concise instructions that clearly describe the intended shot.
Select the aspect ratio based on the type of frame you want. Use 16:9 for wide landscape ideas, 9:16 for vertical concepts, 1:1 for square compositions, and 4:3 or 3:4 when those shapes better match the project.
Those fields are currently placeholders. They show where output settings will appear later, but the final production specifications have not been confirmed in the current interface.
The Preview panel shows where future visual output is expected to appear. The current Video Example area is part of the interface preview and should not be treated as a live generated result.
The button explains that the current tool is still in preview mode. It communicates that the interface layout is visible now, while full live generation access is not yet active.
Wan 4.0 is currently shown here as a preview workspace. Final live generation access depends on verified production availability and may change as the product develops.
The best use of the current preview is to learn the workflow, understand the structure of the interface, and prepare clearer prompts and frame choices for future access.
Model and Mode
Prompt
Aspect Ratio
Resolution and Duration
Preview
Coming Soon
You now know how to use the current Wan 4.0 interface from top to bottom. Explore the preview workspace, understand how each field is structured, and return when verified production access becomes available.
Wan 4.0 is currently presented as a coming-soon workspace.